

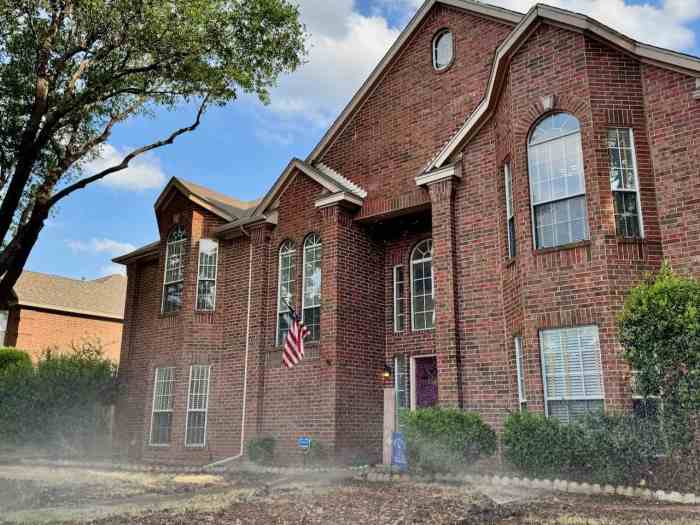
One of the first remodeling project we wanted to tackle as soon as we arrived in Texas was our front yard. Our front yard is probably one of two dilapidated front yards in our beautiful tree-lined street. Before we could even think about rehabbing our front yard, we had to fix our irrigation system. The system comprises of 7 zones with several master valves, all of which are decades old, some not even working or stuck in the open position. Our plan was cut short due to a medical emergency with our son, which occurred not even a week into our new chapter in Texas. Our son ended up being hospitalized for six weeks, but fortunately, he survived unscathed. It was one of the toughest ordeals our family has ever endured.


All of our major plans were set back by about year and we did not start populating our house with furnitures until April of 2024 (we arrived in Texas on May 2023). Fast forward two years (or exactly a month short of two years), we finally begin rehabilitation of our front yard. We started the process by removing one of two live oak trees from our front yard. We heard from two of our neighbors that the previous owner of our home attempted to plant zoysia grass on the front yard, “he hauled in an 18-wheeler full of zoysia sods,” as one of them put it, only for it to die off by the end of one season. The reason was obvious and it was due to the heavy shading of the live oak trees. We solved this issue by having one removed and the second tree pruned and limbed-up. The result is nearly sunlight exposure for our front yard.


Sprinkler Repair
After removing one live oak tree and pruning the second, we immediately replaced the irrigation system in our front yard. We hired a professional and the entire process took about 8 hours. The result is we have a fully functioning, leak-free 5-zone front yard irrigation system.
Overseeding
Rather than taking a gamble and spend (or waste) thousands of dollars to install pallets of sod like the previous homeowner, I decided to replicate the tried and proven method of overseeding. The only southern grass that is readily available and accessible in seed form really is Bermuda grass. St. Augustine is only available as plugs or sods, Zoysia is only readily available in sods. Zoysia grass seeds are hard to come by and expensive compared to Bermuda grass, volume for volume. So, I picked up a 40 lb. bag of Scotts Turf Builder THICK’R LAWN Bermuda Grass Seed, which happened to be on sale for $40 and overseeded our front yard set using a Scotts Turf Builder EdgeGuard Mini Broadcast Spreader set at the recommended 7½ spread. I emptied the entire 40 lb. bag that’s supposed to cover 4,000 square feet to our roughly 3,000 square feet front yard (according to Google Maps).
After overseeding, I briefly watered the front yard. Then, for the next three weeks, I watered the front yard twice, setting each zone to water for 5 minutes. I set our Rachio 3 to water at 6:30AM and again at 10:00PM. Great thing about Rachio is it automatically skips watering when rain is in the forecast. The first seedling appeared exactly after 10 days. I need to mention that:
- I did not prepare the soil in any way (no tilling, no aeration, no flatening, no detatching, no raking, no pulling of weeds, no clearing of wood chips or residual mulch from the stump grind — nothing)
- I did not apply a top layer soil over the seed spread
- I simply set my Turf Builder EdgeGuard Mini Broadcast Spreader to 7½ and emptied the bag
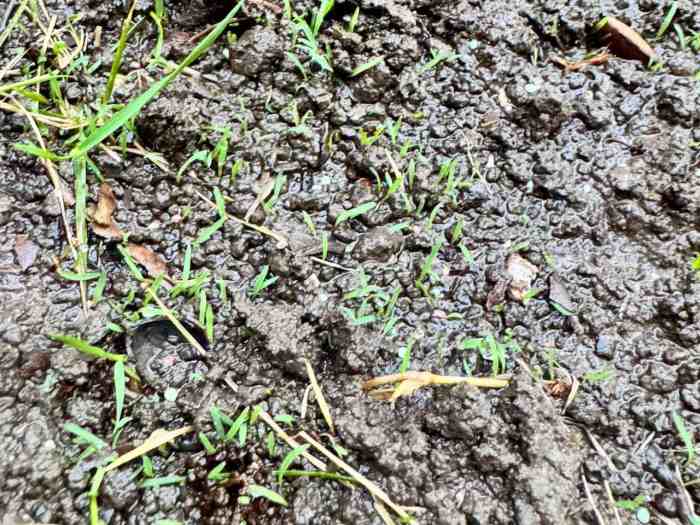
Day 1


Day 10

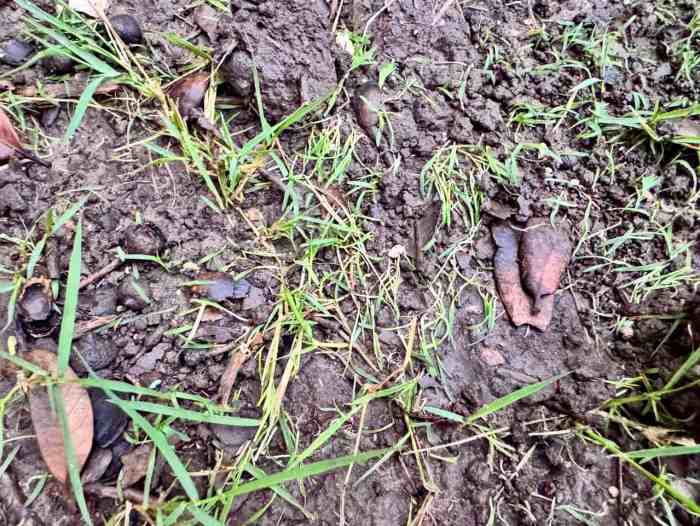
Day 11


Week 2 (Day 12)


Day 14
A day after the seedlings took an 8 hour beating of torrential rain. I am 100% confident that they will bounce back quickly and recover.


Day 17
After more torrential rain, followed by brief warm, sunny days.


Day 18
Recovering after exposure to photosynthesis and warmth. As of day 18, I reduced lawn watering from twice daily to two times a week, twice a day (morning and night). By now, all the active Bermuda grass seeds should have germinated.
The Rachio controller takes over from here and will automatically adjust the watering based on the rain forecast for the month of May and moving forward.


Day 20
Just when I thought the rain had finally let up, it poured for another three days. The seedlings definitely took a beating, as shown in the photos below. Fortunately, the soil drains well—pooled water usually disappears within 30 minutes, leaving no standing water behind. That said, several patches, especially the youngest ones, were displaced or washed away since their roots hadn’t yet taken hold.


Week 3 (Day 22)
With the thunderstorms mostly behind us and warm, sunny weather returning to North Texas, the seedlings have made a strong recovery.

Day 25
Daytime temperatures are now in the 80s, with a high of 100°F expected in a few days before stabilizing in the 90s as summer approaches. The Bermuda grass is growing prolifically, and our once bare front yard is gradually being covered in green—faint, but increasingly visible.
What I’ve observed in week 3 is that Bermuda grass seeds tend to germinate in waves rather than uniformly, unlike what I experienced with Tall Fescue. This means some areas may fill in faster with thicker patches, while bare spots take a bit longer—but they do eventually catch up. Once the lawn reaches mowing height, a quick trim helps even things out and gives the lawn a more uniform appearance.


Week 4 (Day 30)
As you can see, once the weather remains constant at 85s-90°F, the Bermuda grass began to grow aggressively. At this rate, I might be able to start mowing soon.


Even the residual Zoysia grass by the previous owner’s efforts are returning to life (and so are tall fescue clumps, to my surprise, and weeds like dallis grass, Asian ponysfoot and dandelions just to name a few). The dark patch near the center of the right lawn is residual mulch, from stump grinding and grinding down exposed roots. Grass seedlings are sprouting, but it is taking longer to take root due to the nature of the substrate. Slowly but surely.
Week 5
At exactly week 5, I decided to give the emerging lawn a quick 2″ mow. Then, after mowing, I applied Scotts Turf Builder Southern Lawn Fertilizer for Southern Grass, 5,000 sq. ft., 14.06 lbs. Shortly after laying down Southern Lawn, we had another bout of thunderstorms, bringing in torrential downpours. The rain helped dissolve the fertilizer, making it easily available to the newly formed lawn.

Week 6
Some before and after photos of our front lawn at Week 6.


Looking Ahead: Final Touches for the Front Yard
I’m not expecting a fully established, lush lawn until at least mid-season two. By late June 2025, I plan to overseed the yard again—this time using pure Bermudagrass seeds for a more consistent look and stronger coverage.
I’ll also take the time to clean up along the sidewalk and apply Scotts Turf Builder THICK’R LAWN Bermuda Grass Seed using a handheld broadcast spreader. This product combines seed, fertilizer, and a soil improver, making it a great option for filling in thin areas and boosting growth.
In theory, that should be the final phase of our front yard makeover. Here’s hoping for a thick, green lawn to enjoy by next summer!
Right now, we are designing and planning to revamp our flowerbed – at least the left side of the house to start. We’ll eventually yank out all the old boxwood and holly bushes and replace them with flowering shrubs, such as azaleas.