


Ninja Coffee Bar and Nutri Ninja with Auto iQ
First post in a while, because married life, house hunting and work!
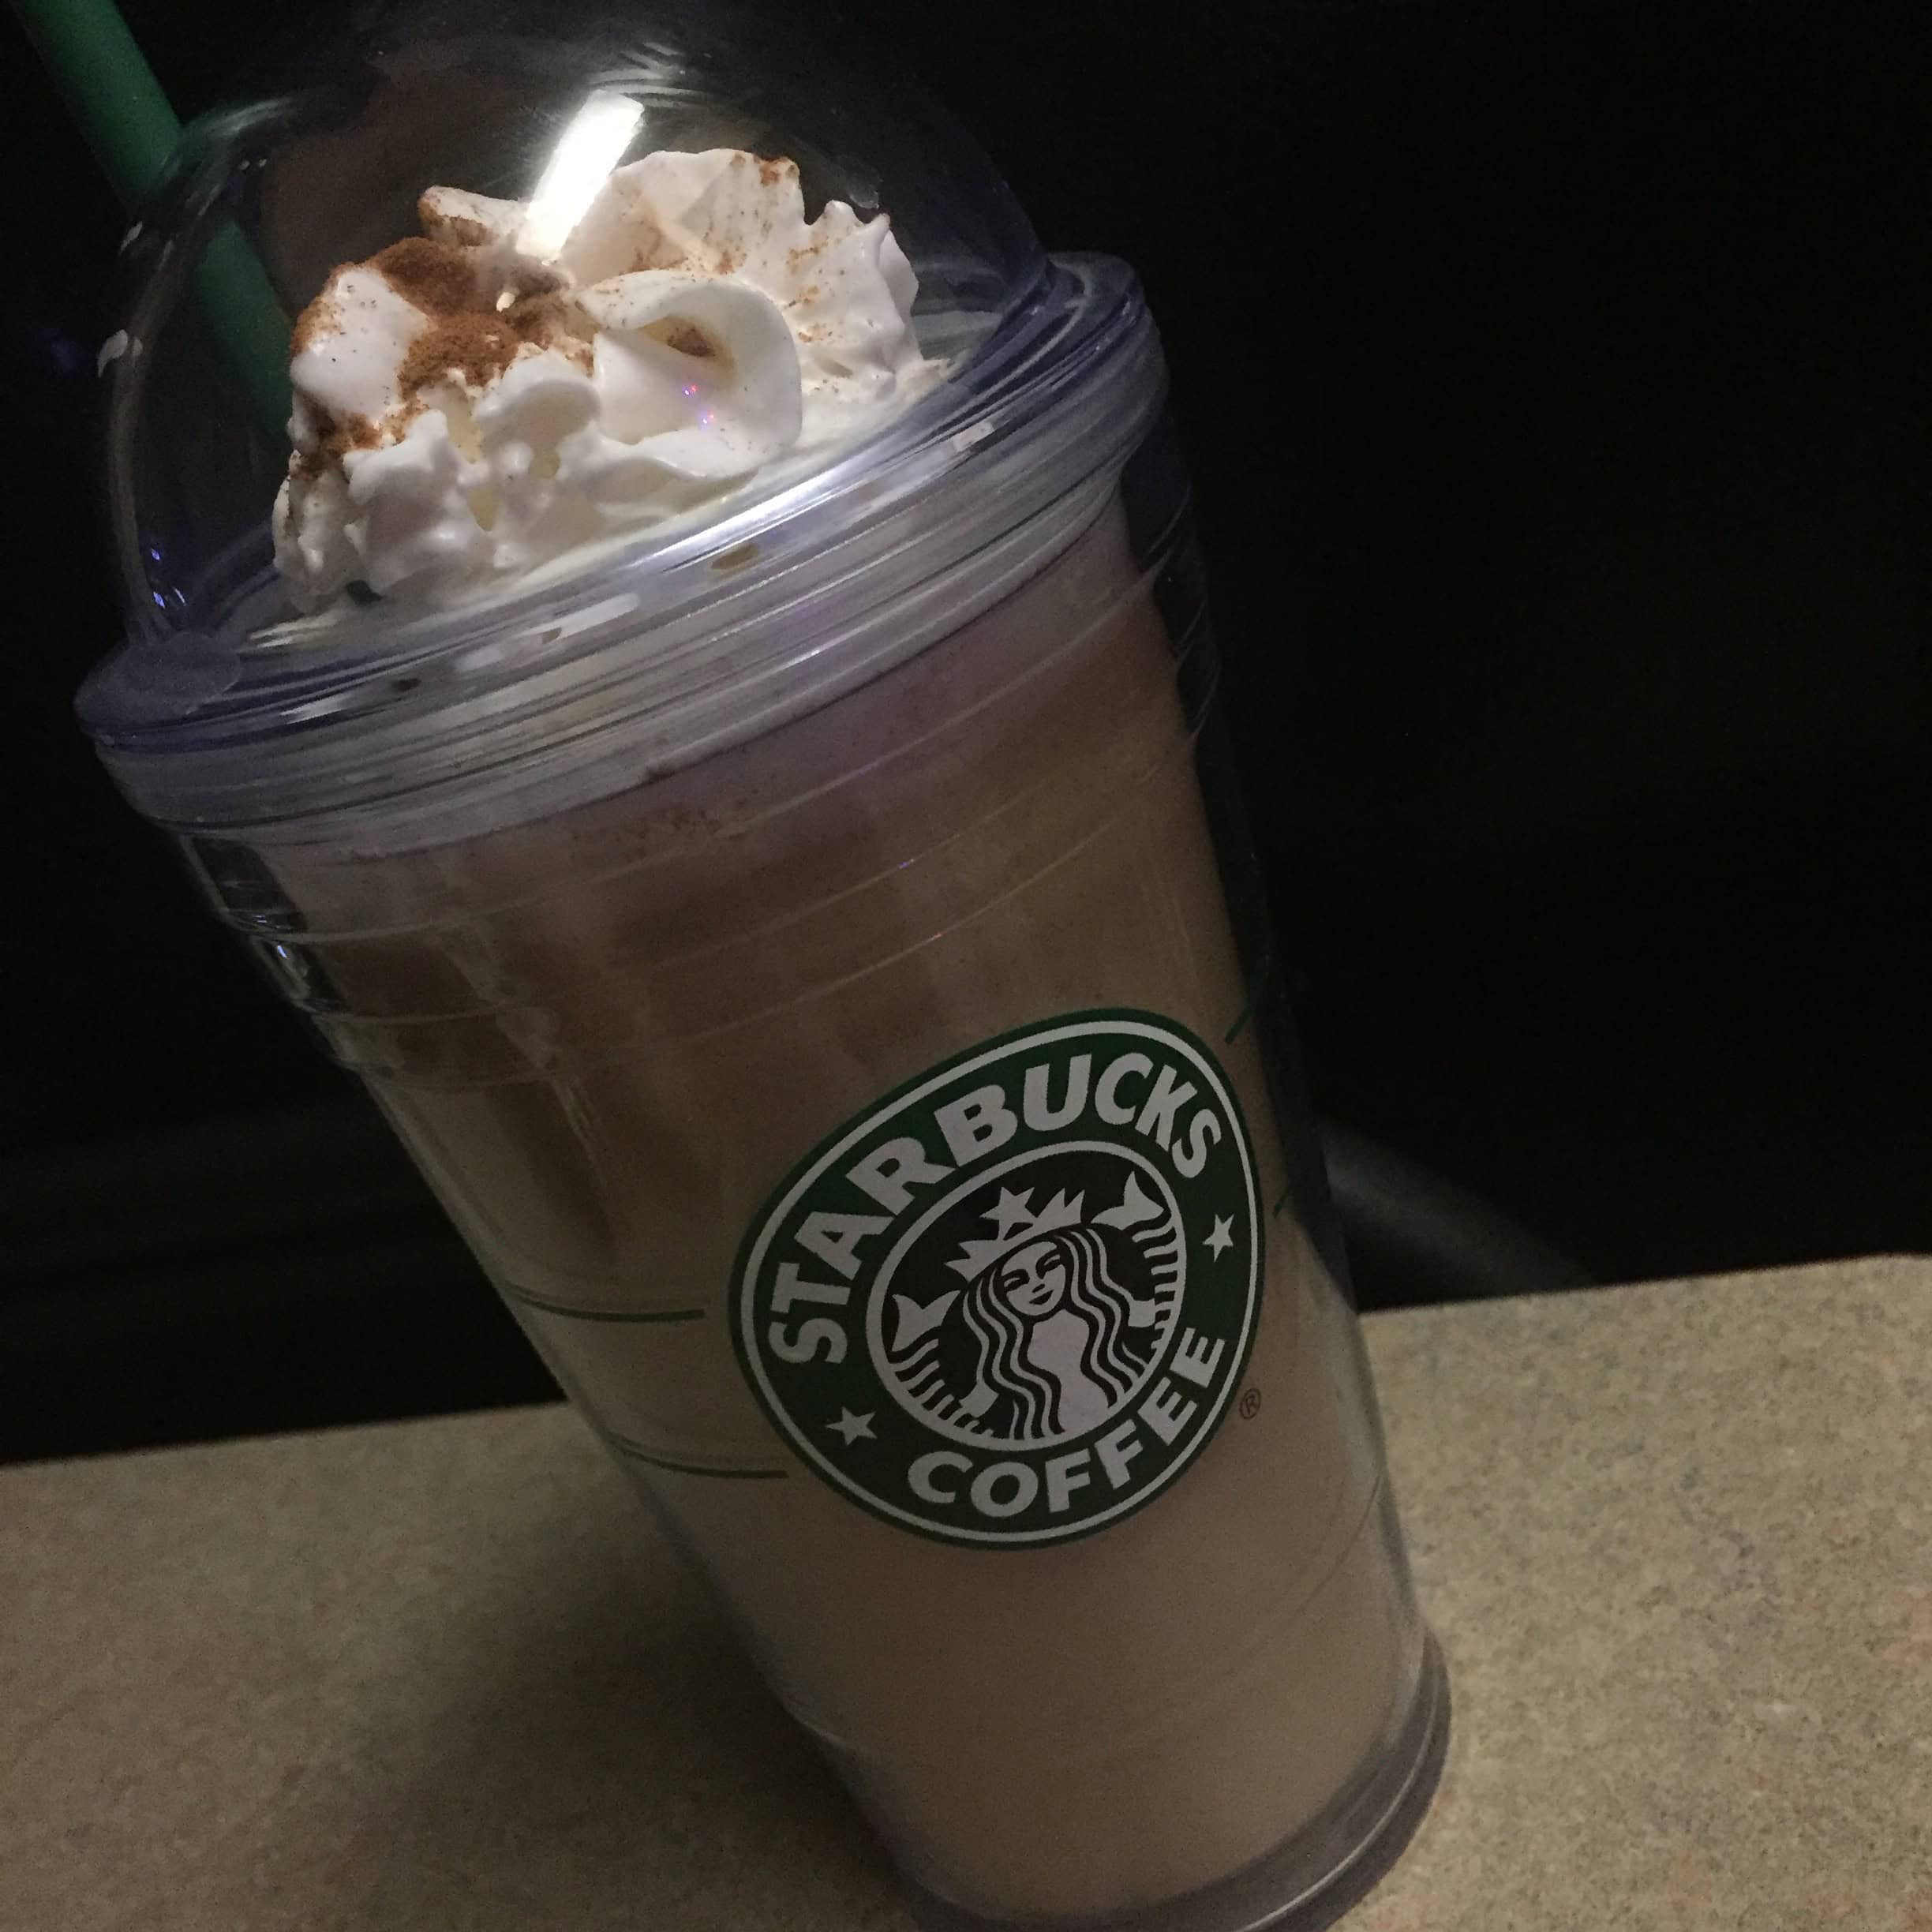
We recently saw a late night infomercial about the Ninja Coffee Bar and decided to give it a try; impressive warranty and return policies, why not? Let’s face it, coffee at the local Starbucks and pretty much any boutique coffee house make great tasting coffee because they have an arsenal of ingredient at their disposal, and they have the machine to turn multiple ingredients into one great looking and tasty treat. Coffee lovers couldn’t replicate this at home with a Mr. Coffee drip brewer nor could they do it with a Keurig single serve machine. With the Ninja Coffee Bar, now we can!
Make Me an Offer
After looking at our coffee expenditure over the course of six month and noting we’ve spent an average of $100 at Starbucks in a month, we figured it’s time to upgrade our Keurig 1.0 and invest in a multi-purpose coffee system that we could use for the long stretch. Being a fan of Keurig, we looked into the 2.0 systems. And then we stumbled upon the Ninja Coffee Bar infomercial one late night after a re-run of Good Eats and became intrigued. Overall, we plopped down around $220 for the model with stainless steel thermal carafe and a Commuter Companion package (2 Ninja Hot & Cold 18 oz. tumblers and 2 Ninja Stainless Steel 16 oz. travel mugs.). We ordered directly from Ninja and got the bad boy in two days with regular free ground shipping. With 5 years exceptional warranty with free shipping both way, what’s there to lose?
The Build
The Ninja Coffee Bar is constructed mostly from plastic. The base, the filter holder, the water reservoir and the cup extension arm. At first, we thought the coffee bar would take up a serious amount of space, but after set up was done, it only takes up a slightly larger foot print than our Keurig 1.0. It’s taller for sure, but not obstructive. It’s pretty lightweight for its size and I find myself moving the entire coffee bar around when I twist the reservoir off to refill it.

The water reservoir easily twists off.

Ninja Coffee Bar vs. 1st Gen single brew Keurig.
Speaking of the reservoir, it is clearly marked so you can brew specific amount of coffee without second guessing water volume. A reservoir filled with water to the max fill line yields a full carafe.

Reservoir fill lines.
Additional lines mark the half-carafe, travel mug and cup marks. The flip lid at the top of the reservoir makes refilling seamless and easy.
The included permanent mesh filter lifts out of the filter holder, which slides out. There is also a horizontal sliding tab right near the bottom of the removable brew basket that toggles the drip stop. When toggled, the “Drip Stop” indicator located at the bottom of the brew setting illuminates.
Brew Settings
The Ninja Coffee Bar allows for four drink customization: Classic, Rich, Over Ice and Specialty.

Brew settings, Clean cycle and drip stop indicator.
- Classic: This brew will yield your typical drip coffee, nothing fancy, just good ol’ cup of Joe.
- Rich: Rich brew setting yields a slightly higher intensity in terms of flavor, the brew is dark brown to almost black. This brew setting is best if you want to add more sugar or creamer to your coffee.
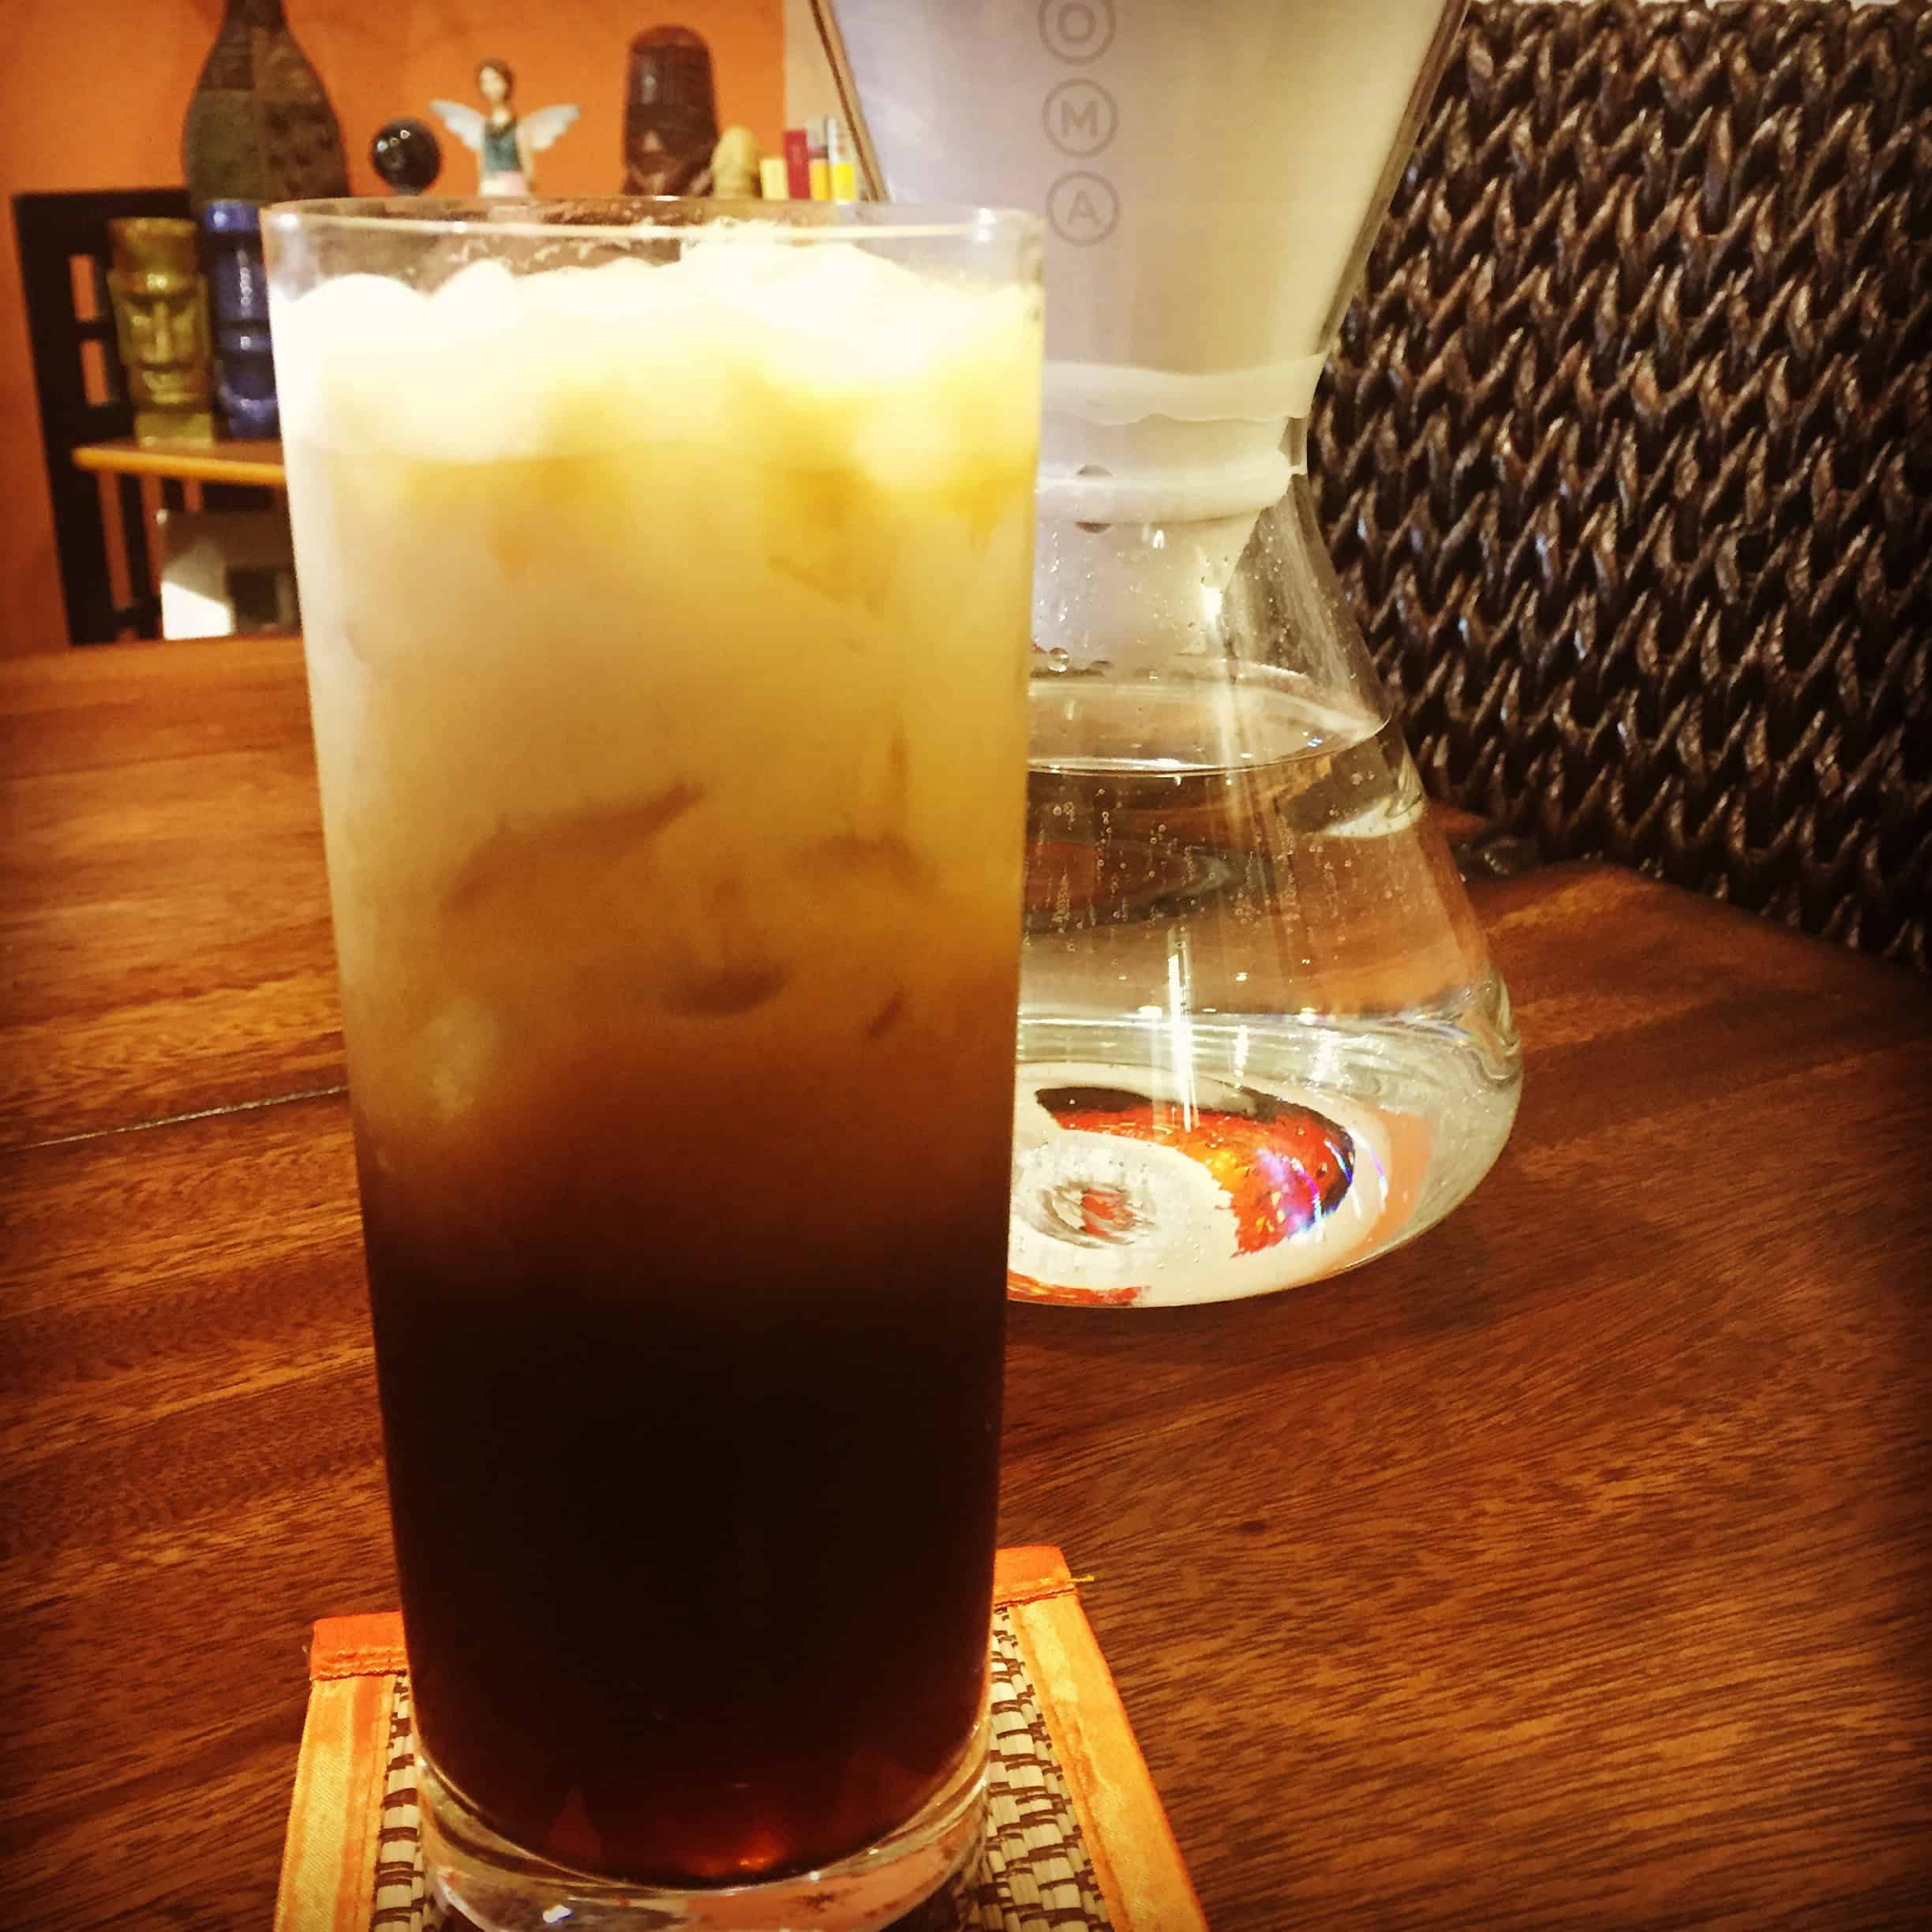
- Over Ice: Over ice brew yields an intensive flavor to counter balance the watered down effect of melting ice. 2x the flavor level of classic brew.
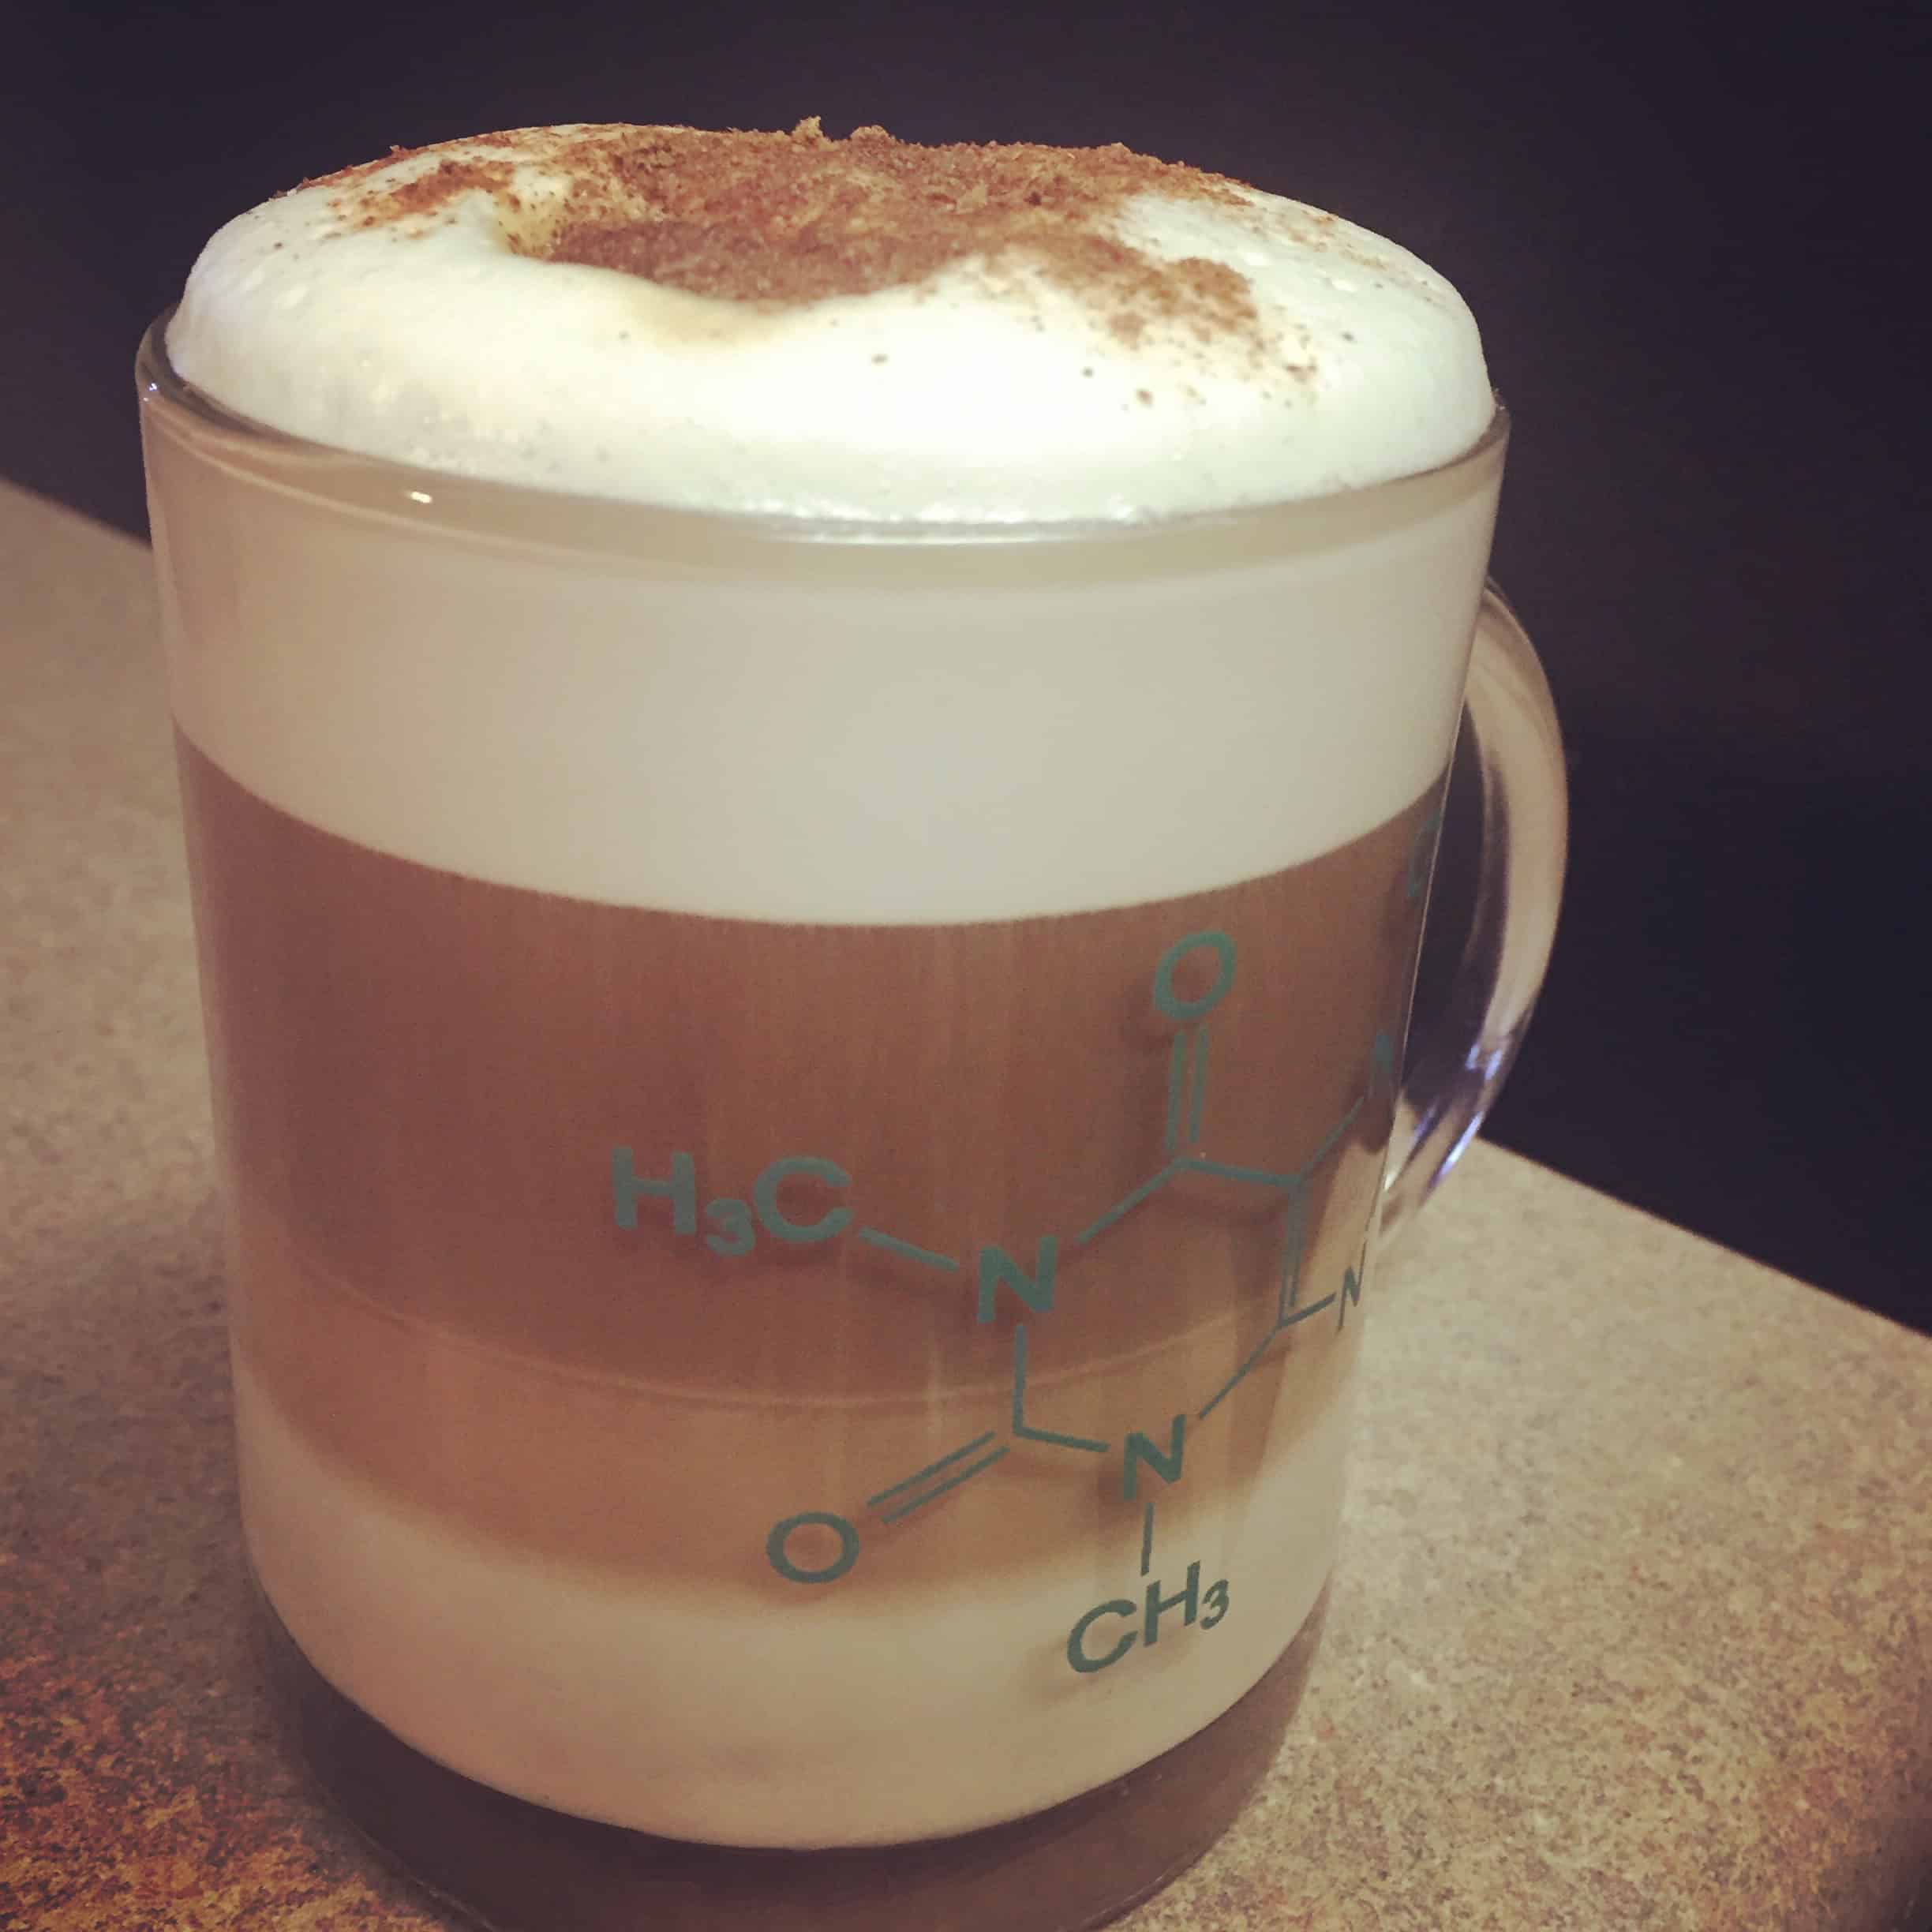
- Specialty: Specialty is basically the Coffee Bar’s version of espresso. This setting yields significantly less volume than the previous three settings with 3x the flavor level of classic brew. Used to make specialty drinks, like cappuccino, macchiatos and ice blended drinks.
I will say that I do love the delayed brew function! I can program the bad boy to brew me a travel mug size cup of Joe the night before at 6 AM the following morning while I get ready for work. And by the time I am ready to hit the door, a fresh hot cup of coffee is waiting for me!
Cleaning the Bar
In addition to brew settings, the Coffee Bar cleaning reminder indicator is located at the bottom of the brew settings. I believe it lights up once every six months or once the Ninja Coffee Bar senses internal calcium build-up. Ninja sell a clean & descaling solution for use with the Ninja Coffee Bar, but they also provide an alternate solution. Taken directly from the user manual:
Fill the water reservoir to the cup line (11 oz.) with white vinegar, then fill the rest of the water reservoir with water up to, but not exceeding the Clean Cycle Max Fill line (30 oz.)
Press “Clean” to activate the cleaning cycle, which could take up to 8 minutes to full descale and clean the bar, then simply empty and rinse the carafe and water reservoir once the cleaning cycle is complete. Once the clean light turns off, fill the water reservoir with water up to the max fill line and run two more “Clean” cycles with fresh water to clean the internal parts of the brewer and flush out the residual vinegar.
Let’s Brew Some Coffee
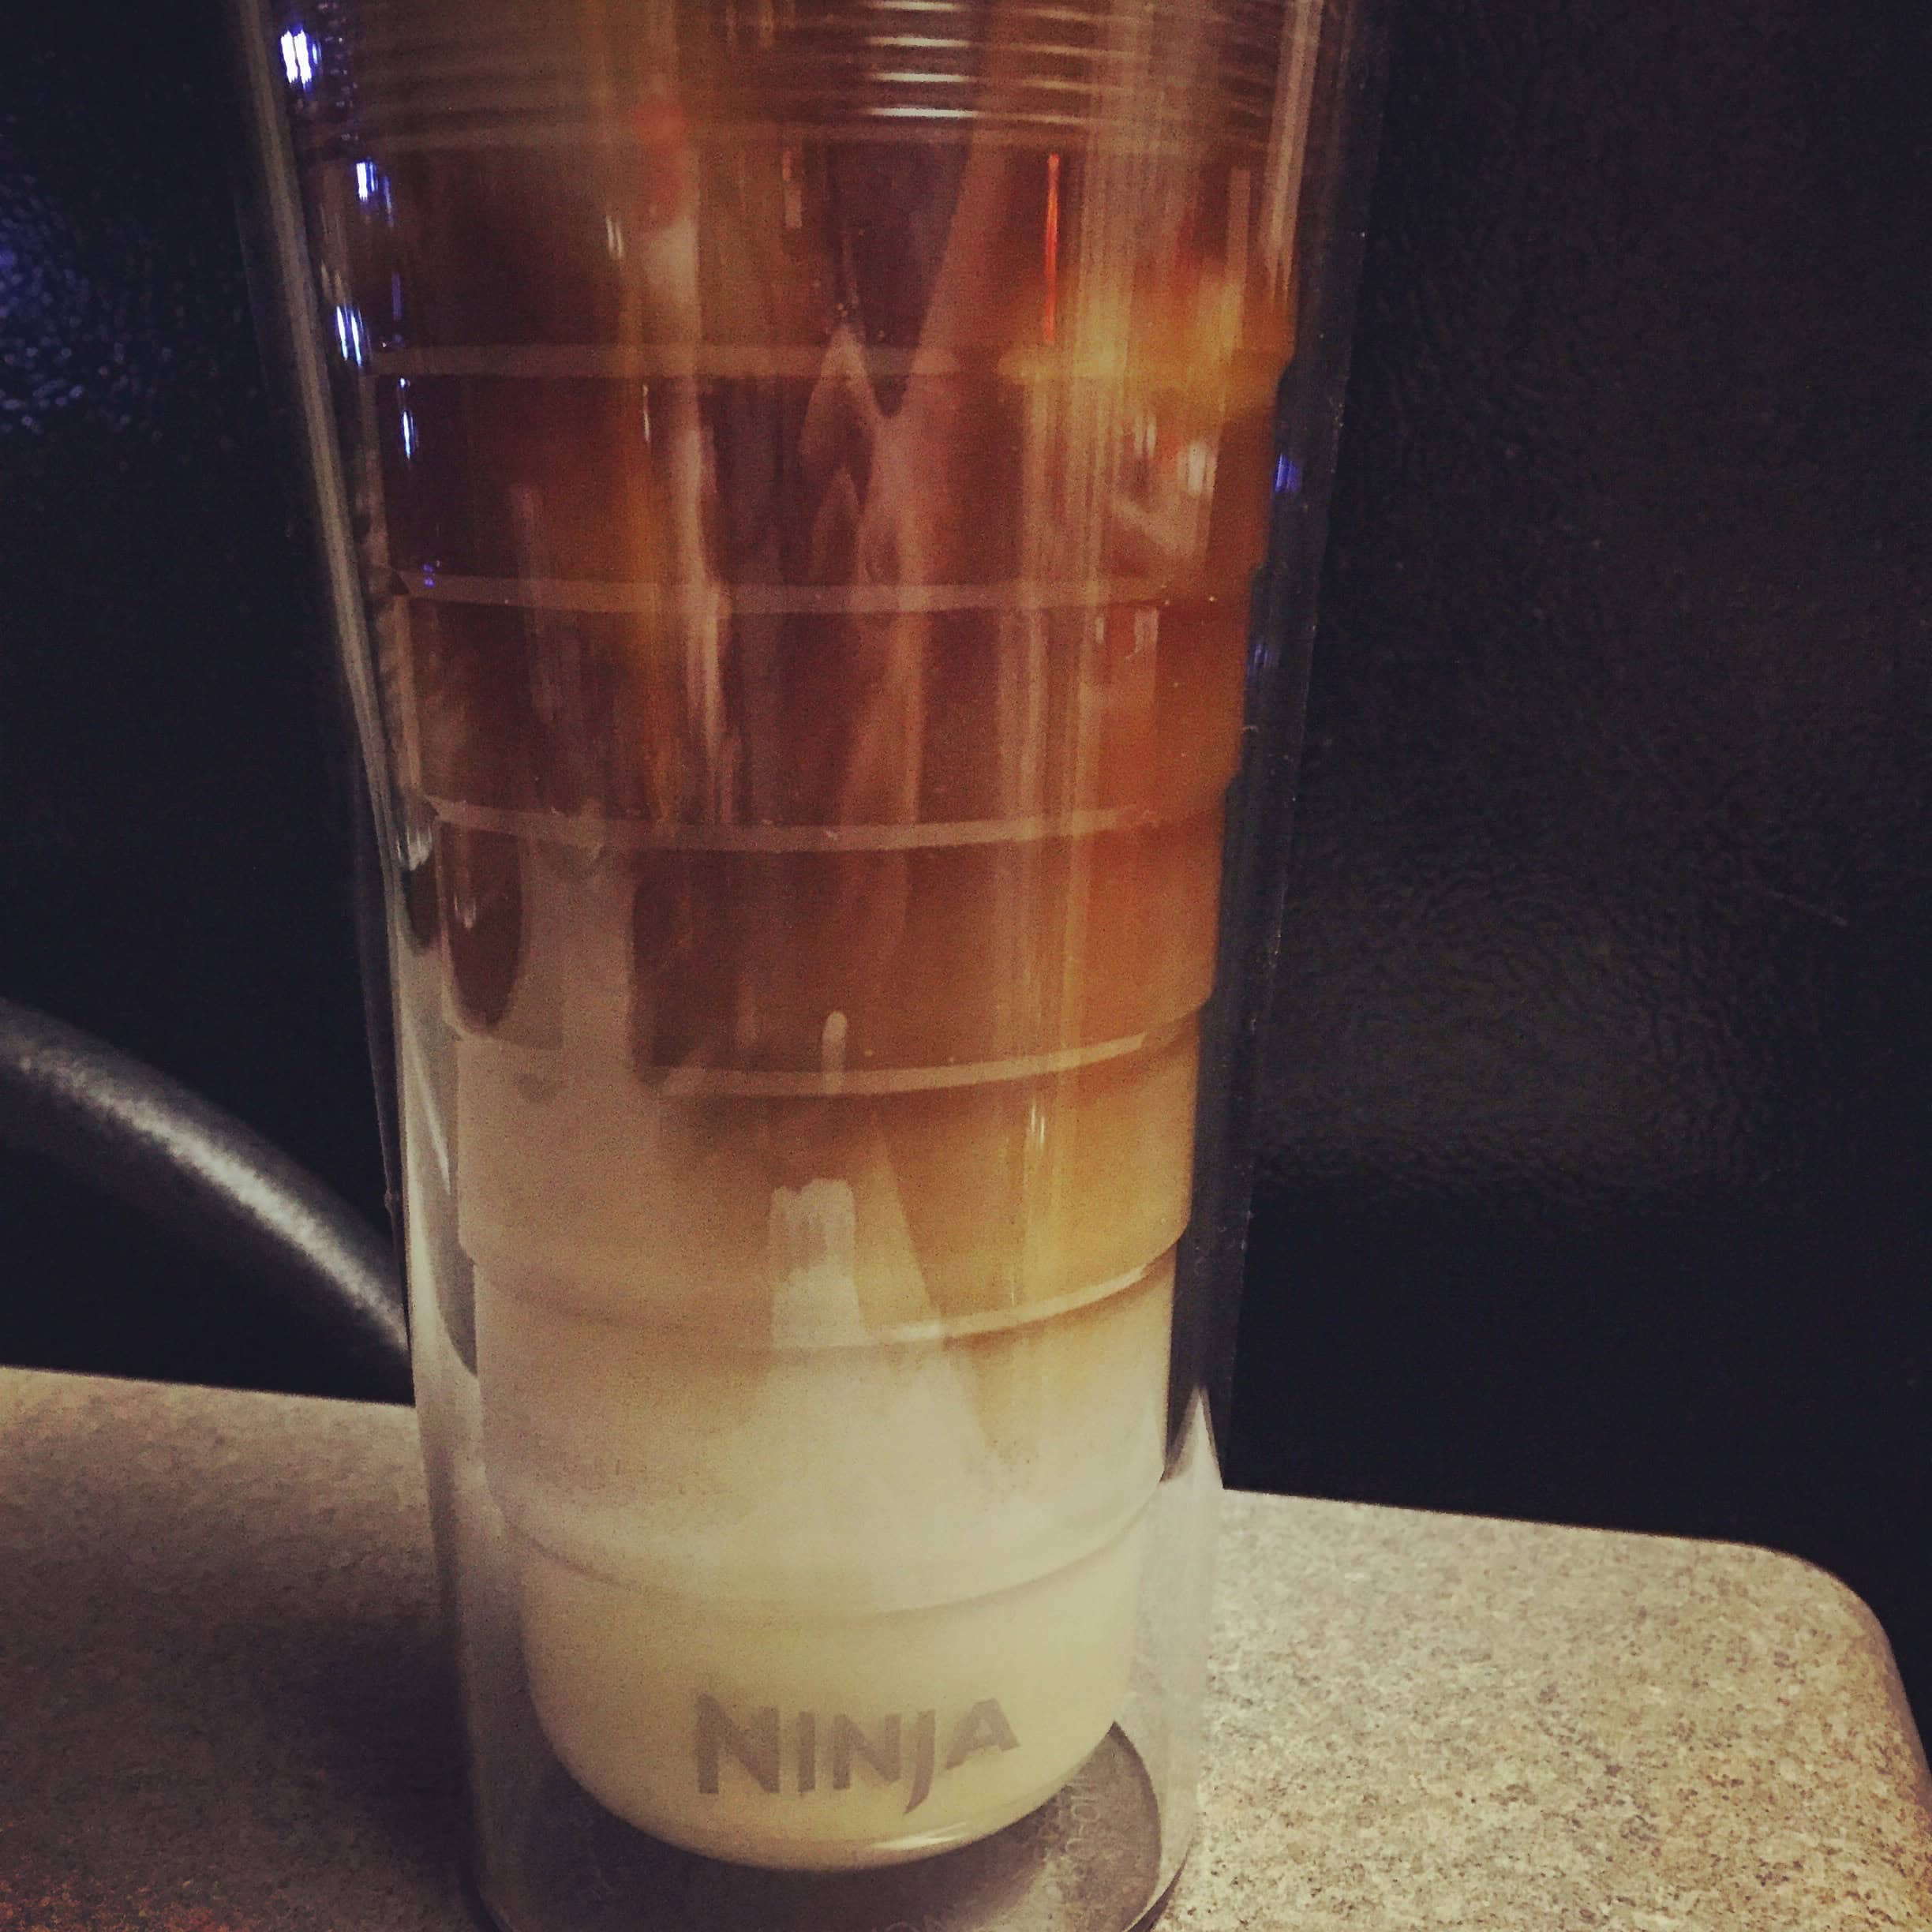
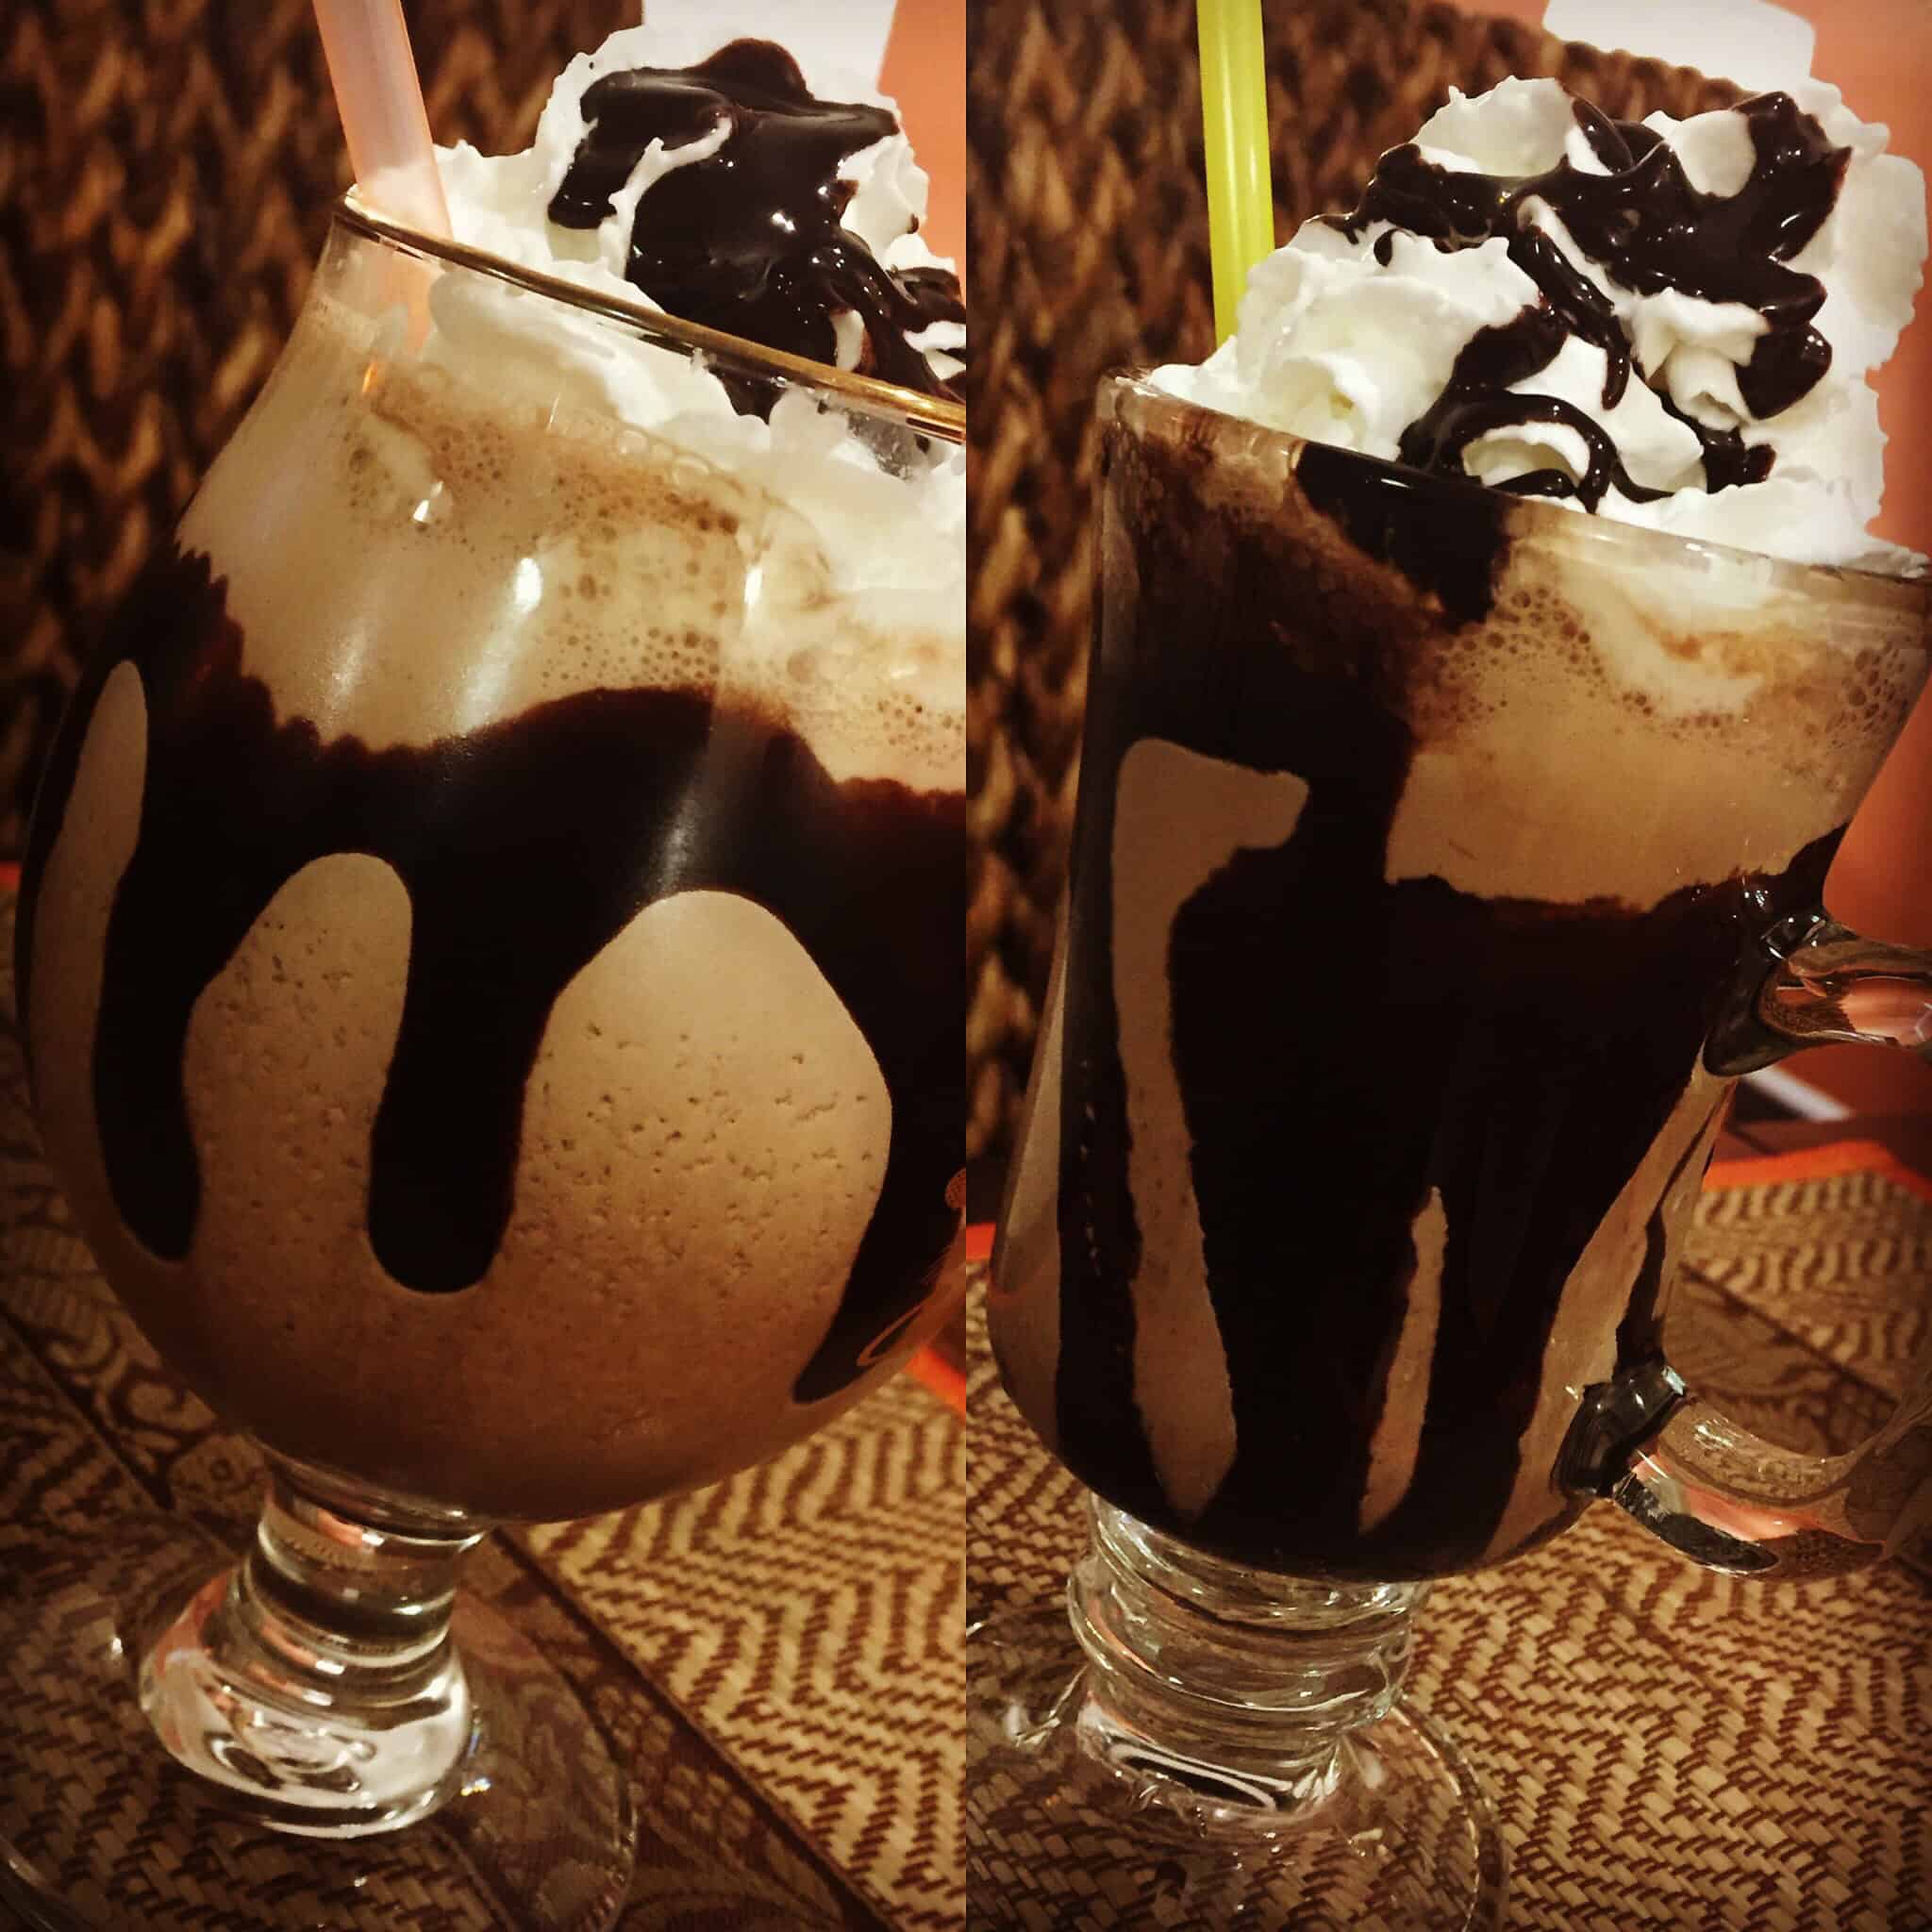
Our package includes a 40 recipe booklet and another recipe book containing 100 recipes, which will keep us busy as we experiment around. Frozen drinks will require the presence of a blender, in our case, our handy 1000 W Nutri Ninja with Auto iQ. We made frozen mudslides from the recipe book and the drink was phenomenal.
I’ve read that some users are experiencing “over extraction,” which causes the coffee to taste sour or bitter. I’ll say that the state of freshness of your coffee ground (i.e. do you store it in a hermetically sealed jar, or is it exposed to air?” and the age of the ground makes a huge difference if not -ALL- the difference. We brewed a batch of old coffee ground and sure enough, the brew tasted stale and bitter. We dumped it out for a fresh batch of Costco 3 lb. Colombian coffee ground and the brew tasted stellar. To further customize the level of flavor and strength of your brew, also understand that using a #4 cone filter makes a big difference too. The cone filter will filter out the essential coffee ground oil, leaving a smoother and crisp (lean?) brew whereas brewing with the reusable mesh filter yields a richer, flavorful cup. By using the different level of brew, i.e. classic or rich in conjunction with either #4 cone filter or the reusable mesh filter, you can achieve multi level of taste, strength and flavor. I recommend experimenting around until you achieve your perfect brew! From lightest and crisp brew to the darkest and richest-jammed-packed-flavor brew with strength:
1. Classic brew + #4 cone filter
2. Classic brew + reusable filter
3. Rich brew + #4 cone filter
4. Rich brew + reusable filter
I personally brew rich with #4 cone filter as my choice of preference.
The stainless steel Ninja travel mug DOES indeed keep my coffee warm for five hours, I couldn’t believe it. Ninja claims it will keep iced coffee drinks cold for up to 12 hours, I haven’t used it to carry iced drinks yet so I cannot comment. Since our model comes with the thermal carafe, our model does not include the warming plate. The stainless steel thermal carafe also keeps coffee warm for up to two hours as Ninja claims. Fresh brew comes out of the Ninja Coffee bar at 166 degrees F. The temperature of the coffee in the thermal carafe then drops 9 degrees down to 157 degrees F after half an hour. The coffee remains 116 degrees F after 10 hours, which is pretty incredible to say the least!
With the amount of coffee we drink, the Ninja Coffee Bar will pay for itself in no time and our coffee expenditure will be cut dramatically. No more visits to the local Starbucks and no more $0.65 single serve K-Cups. Being environmentally friendly using the coffee bar’s reusable mesh filter is an added bonus!

Verdict
Overall, very pleased with our investment and we’re sold on the Ninja brand. We originally thought Ninja was another cheesy as-see-on-TV brand, but after great success with our Nutri Ninja and Ninja blender and now the Ninja Coffee Bar, we’re fans. The Ninja Coffee Bar can be ordered from Amazon but I’d recommend shopping around Ninja direct. They sometime offer phenomenal deals and also have easy payment plans for those that want to go that route.