

This DIY guide illustrates how to install Hyundai OEM window visors accessory onto a 2016-2021 Hyundai Tucson, part # D3022-ADU00.
Window visors come in handy during rainy or hot days. I can open the windows slightly during rainy days, allowing fresh air into the cabin while the visor deflects raindrops and reduces cabin humidity level. On hot days, I can crack open the windows inconspicuously to allow hot air in the cabin to escape.
Fortunately, Hyundai manufactures an OEM window visor accessory that is relatively cheap to acquire, depending on which dealer you source from, unlike its JDM counterparts.
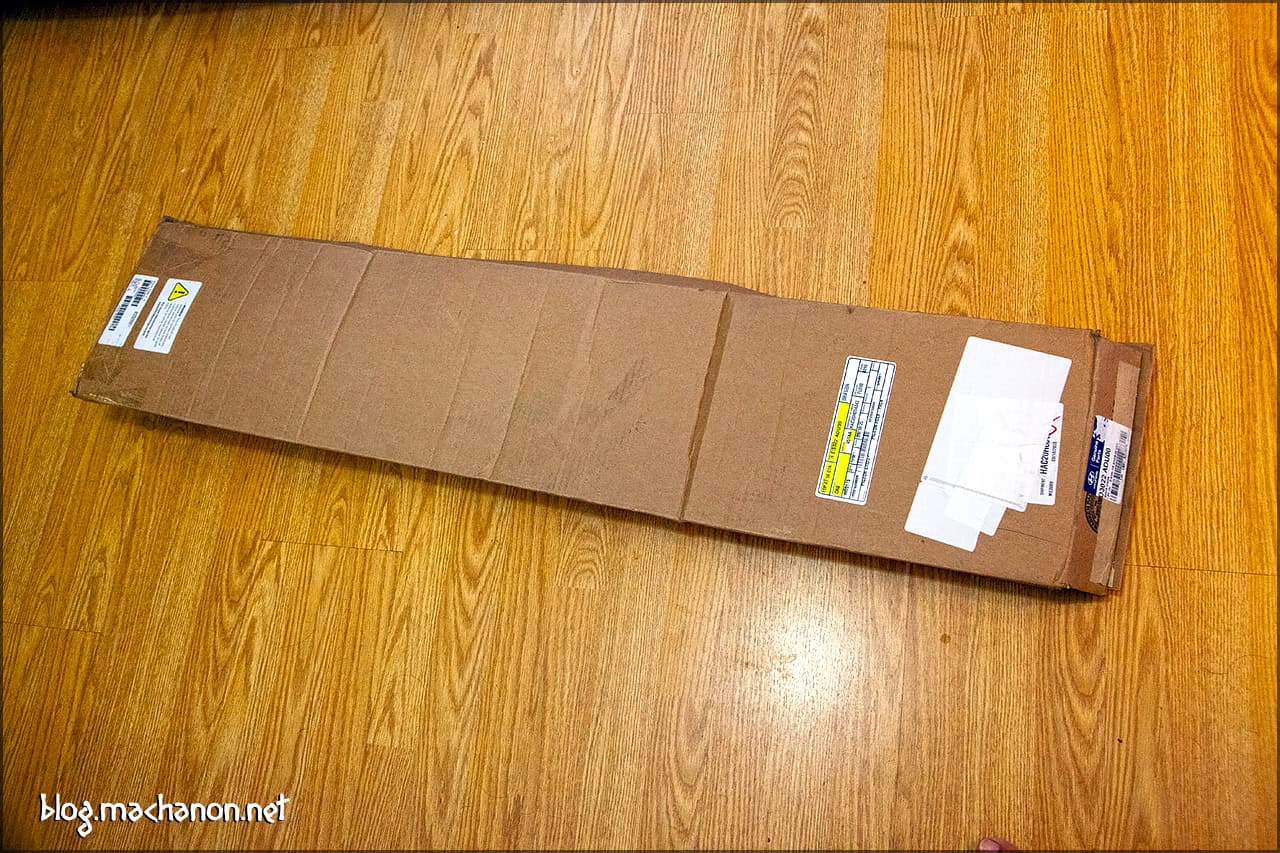
This install took me a little over an hour to complete. I ordered my visor kit from Del Rey Hyundai. The shipping took longer than usual but the price was right.
Tools and Materials Needed
- OEM Hyundai Tucson Window Visor kit, part #D3022-ADU00
- Cleaning wipes
- Microfiber towel
- Pencil or marker
Unboxing the OEM Hyundai Tucson Window Visor Kit
The Hyundai Tucson window visor kit arrived in a slim, although sturdy, rectangular box. Hyundai packed the visors in “chambered” plastic bags, meaning one bag contains two chambers to house each visor. The front and rear visors are grouped and bagged separately. A separate bag of hardware is included to facilitate the installation, and that includes an installation instruction sheet.

Step 1
Remove the plastic wrapping from the window visors. For this guide, we will install the passenger side visors first, starting with the front passenger door.
Align the front passenger window visor 2 mm from the top edge of the door frame. Then mark the rubber weather stripping by sticking a pencil or marker through each of the three holes on the visor. These three markings will indicate the approximate location on where to install the support brackets.
In this example, I used duct tape to hold the visor in place so I can take a photo of the alignment and marking process.


Step 2
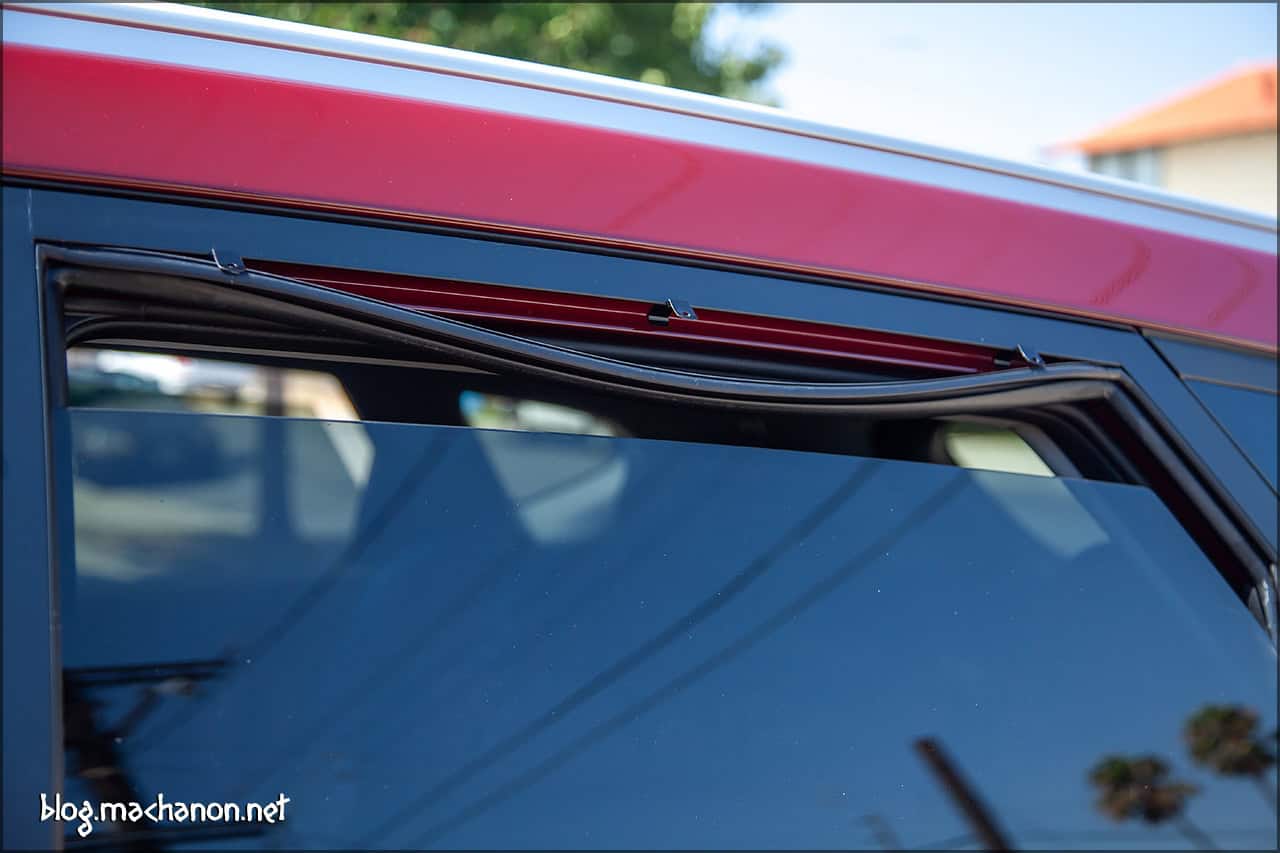
Next, partially remove the rubber door frame weather stripping. Start with the middle and work yourself outward. We only want to remove the top weather stripping and leave the sides alone. Let the stripping hang on the door frame.

Step 3
Position each support clip close to the location on the weather stripping that you marked earlier with a pencil or a marker in step 1.

Snap the support clips in place on the door frame.

Next, take your visor and re-align it on the door frame, ensuring that all three holes on the visors line up with the corresponding holes on the support brackets that were just installed onto the door frame. If the holes do not align, you can simply pop out the support bracket and re-align them. The door frame where the support brackets are installed is a plasti-dipped frame. Do NOT jiggle the support bracket to reposition them, it will scrape off the plasti-dipped coating and reveal the car paint beneath it.

Once you’ve aligned the holes on the visor to the corresponding support brackets, securely push the weather stripping back into the door lining.

The support brackets should stay snugly installed onto the door frame with the weather stripping sandwiching it from underneath.

Step 4
Clean the door frame with an included alcohol wipe.

Step 5
Next, partially peel off the red adhesive backing from each end of the visor. Position the visor 2 mm below the edge of the top door frame. Make sure the holes on the visor aligns with the holes on each of the three support brackets (especially the middle hole) that are installed onto the door frame. Attach each end of the visor onto the door frame by pressing down firmly.

Peel off the adhesive and press down on the visor at the same time.

I find that the middle hole is the most difficult to align, so you will need extra effort just to align it.

Step 6
Once the visor is securely attached to the door frame and the holes are aligned, insert a plastic rivet into each of the holes on the visor. Make sure it goes completely through and catches the support bracket.

Press on the plastic rivets until it is completely down.

The plastic rivets, when installed correctly, should be fluted – holding both visor and support bracket together. This is what a correctly installed front visor looks like:

Step 7
Next, we are installing the rear passenger visor. The installation is straight forward, exactly just like the front visor I just installed. I will only include photos of the installation process. Repeat the exact installation process on the opposite side.


The Finished Install
This is what the completed install looks like.


Verdict
Pros
Just like any other OEM window visors accessory I’ve installed (Prius, RSX DC5), they work great and function as designed. The Hyundai Tucson visors are no exception. They come handy, especially during the September heat wave we are experiencing here in Southern California.
Cons
Unlike its JDM counterparts, the build quality of these OEM Hyundai window visors leave room for desire. For one, the edges of these visors are not polished down like the Honda Access and Toyota visors. You can see the jagged edges left behind from the CNC mill.


The front visors do not flow with the rear visors in a streamlined, seamless style. Instead, the front visor terminates in a flared fashion while the rear abruptly starts. I’m pretty sure the folks at Hyundai has a reason for this unique design.

It would look better if it was seamless, front to back like most Toyota visors.
And finally, the front end of the front visors have a half of a visor just hanging around not attached to anything.


Other than these minor annoyances, I like the dot matrix faded print on the visors and they work. There are no doubt better and cheaper 3rd party alternatives. The problem with these are they are installed by double sided tapes only. And from my experience with my RSX DC5 with 3rd party visors, they fall off at high speed or in extreme heat. So no, I will never buy 3rd party visors if support brackets are not included.